


The Engine harmonic balancer plays a crucial role in reducing vibrations and ensuring smooth engine operation. Neglecting this component can have a significant impact on the engine’s performance, from minor squeaks to severe malfunctions. Many encounter challenges when attempting the 5.7 hemi harmonic balancer removal, especially due to limited space for traditional methods. This guide aims to simplify the process, providing clear steps and expert tips for a successful removal experience.
Tools and Preparation
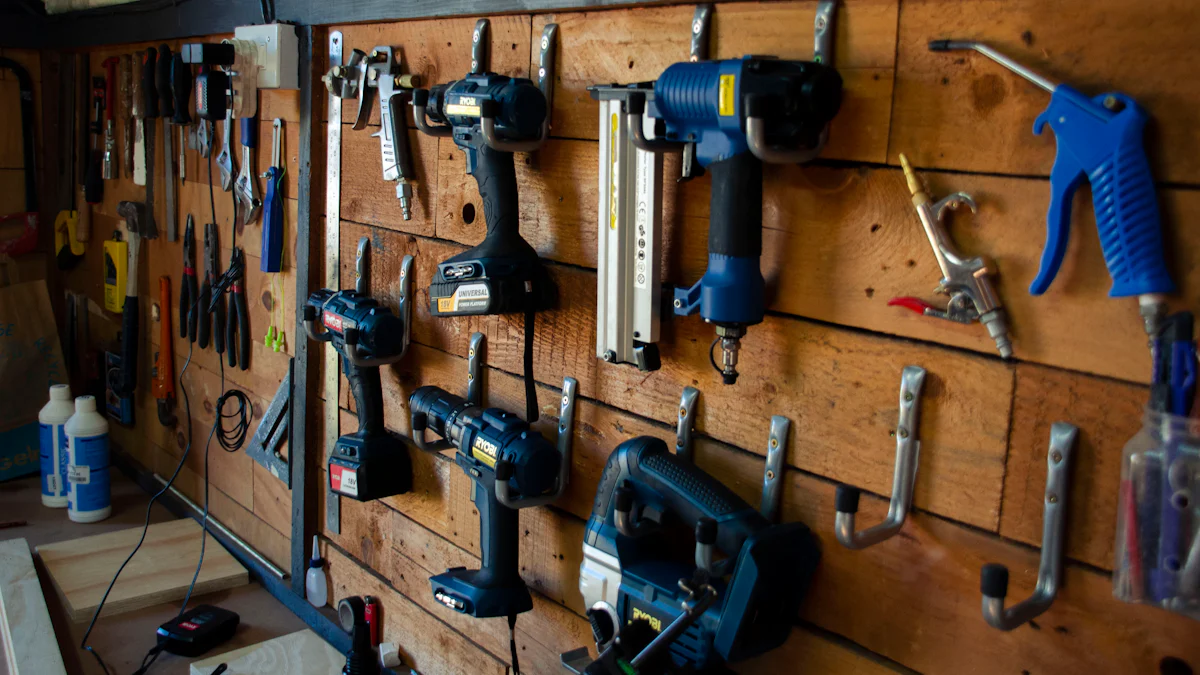
Essential Tools
When removing the 5.7 hemi harmonic balancer, it is crucial to have the right tools at hand to ensure a smooth and efficient process. The 3-jaw harmonic balancer puller is a must-have tool for this task, specifically designed to fit various vehicle models, including GM, Ford, Chrysler, and more. Its low-profile legs are engineered to grasp the backside of the spoke on pulleys like the 3.0L Duratec, making it versatile and effective for different applications.
Alongside the puller, having a jackstand and ratchet is essential for providing stability and leverage during the removal process. These tools work in tandem to secure the vehicle in place and allow controlled movement when breaking loose the harmonic balancer bolt. Additionally, a torque wrench is necessary for precise tightening when installing the new balancer later on. Lastly, a breaker bar can be handy for applying extra force if needed to loosen stubborn bolts or nuts.
Safety Precautions
Prioritizing safety measures is paramount when working on any engine component, especially when dealing with critical parts like the harmonic balancer. Before starting the removal process, it is recommended to lock the motor securely in place to prevent any accidental movements that could lead to injuries or damage. Ensuring a proper workspace free of clutter and obstacles will also contribute to a safer environment for carrying out the task efficiently.
Reaction Score
A key aspect of successful harmonic balancer removal is understanding the importance of certain components like the bolt securing it in place. Investing in a new bolt after removing the old one is highly recommended to guarantee proper installation and secure fitment of the new balancer. Additionally, regularly checking for wear and damage on both the harmonic balancer itself and its corresponding crankshaft can help identify potential issues early on and prevent further complications down the line.
Step-by-Step Removal Process
Initial Steps
To kick off the 5.7 hemi harmonic balancer removal process, it is crucial to begin with essential preliminary actions. First and foremost, disconnecting the battery is imperative to ensure safety and prevent any electrical mishaps during the procedure. By isolating the power source, you create a secure environment for working on the engine without any potential risks.
Following the battery disconnection, the next step involves removing the serpentine belt. This belt plays a vital role in powering various engine components, and detaching it is necessary to access and work on the harmonic balancer efficiently. Carefully releasing the tension and sliding off the serpentine belt will pave the way for further disassembly tasks seamlessly.
Using the Puller
Once you have completed the initial steps, it’s time to utilize the 3-jaw harmonic balancer puller effectively. Properly positioning the puller around the harmonic balancer ensures a secure grip for successful removal. The design of this tool allows for optimal leverage and control when exerting pressure to disengage the balancer from its placement.
With the puller in position, apply steady pressure to initiate separation between the harmonic balancer and its mounting location. By exerting force gradually and consistently, you can facilitate a smooth extraction process without causing unnecessary strain on surrounding components or risking damage to the balancer itself.
Removing the Bolt
Moving forward in your removal journey, employing a combination of tools like a jackstand and ratchet becomes essential for tackling the bolt securing the harmonic balancer. Using these tools in tandem provides stability and torque required to effectively break loose the bolt holding everything in place. This strategic approach ensures controlled force application for efficient disassembly.
As you engage with precision using a jackstand and ratchet, focus on systematically breaking the bolt loose from its tightened state. Applying measured force while maintaining stability guarantees a gradual release of tension without sudden movements that could jeopardize your progress or cause unintended consequences during this critical phase.
Final Steps
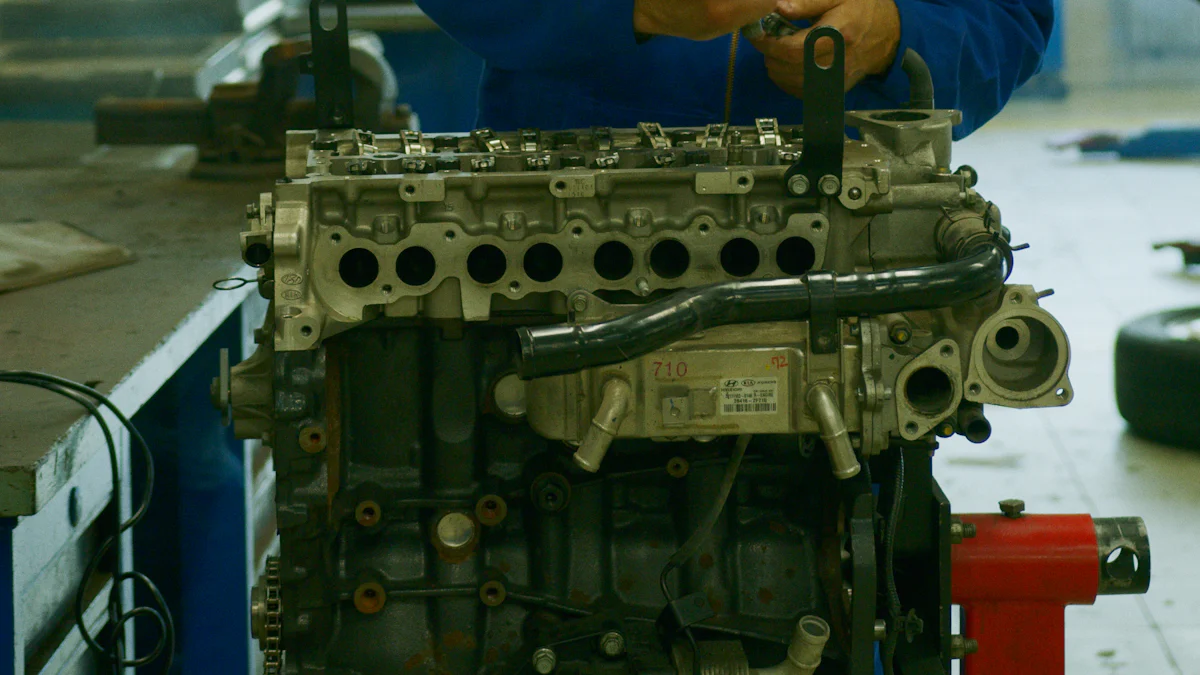
Upon successfully removing the balancer from the 5.7 Hemi engine, the next crucial phase involves meticulously inspecting the balancer and crankshaft to ensure optimal performance and longevity of your engine components. This step is essential in identifying any potential issues or wear that may have developed over time, allowing for timely maintenance and preventive measures to be taken.
Inspecting the Balancer:
- Visual Examination: Begin by visually inspecting the harmonic balancer for any visible signs of wear, damage, or irregularities. Look closely at the rubber insulator surrounding the balancer to check for cracks, tears, or separation from the metal components.
- Rotational Assessment: Rotate the balancer gently by hand to assess its smoothness and resistance. Any unusual grinding noises, wobbling, or rough movements indicate underlying problems that require immediate attention.
- Bolt Connection: Verify the condition of the bolt connection area on both the balancer and crankshaft. Ensure there are no stripped threads, corrosion, or misalignments that could affect the secure attachment of the new balancer.
Inspecting the Crankshaft:
- Surface Inspection: Examine the surface of the crankshaft where the harmonic balancer sits for any signs of wear, grooves, or damage that may impact proper fitting. A smooth and undamaged surface is crucial for ensuring a tight and secure installation.
- Thread Check: Inspect the threads on the crankshaft where the bolt secures the harmonic balancer to confirm their integrity and cleanliness. Clean out any debris or residue that could hinder a snug fit during reassembly.
- Alignment Verification: Check that the crankshaft is properly aligned with other engine components to maintain balance and prevent future issues related to vibrations or misalignment.
By conducting a thorough inspection of both the harmonic balancer and crankshaft post-removal, you equip yourself with valuable insights into their condition and overall health. Addressing any identified issues promptly will not only enhance your engine’s performance but also extend its lifespan significantly.
Installation and Final Checks
Installing the New Balancer
Aligning the balancer
To ensure proper installation of the new harmonic balancer, aligning it correctly is crucial. Alignment plays a significant role in maintaining engine balance and reducing vibrations. Start by carefully positioning the balancer on the crankshaft, ensuring that it sits flush and level. Proper alignment guarantees optimal performance and longevity for your engine components.
Tightening the bolt with a torque wrench
Securing the harmonic balancer in place requires precise tightening of the bolt using a torque wrench. This tool allows you to apply specific torque measurements to ensure that the bolt is tightened to manufacturer specifications. Over-tightening or under-tightening can lead to issues such as imbalance or slippage, affecting engine operation. By using a torque wrench, you can achieve the correct level of tightness for a secure fit.
Final Inspection
Checking for proper fitment
After installing the new harmonic balancer, conducting a final inspection is essential to verify proper fitment and functionality. Inspect the balancer’s positioning on the crankshaft to confirm that it aligns correctly with other engine components. Any misalignment could result in performance issues or premature wear. Additionally, check for any signs of interference or rubbing that may indicate incorrect installation.
Reconnecting the battery
As you complete the installation process and finalize all checks, reconnecting the battery is one of the final steps before starting your engine. Reconnecting the battery ensures that power is restored to all electrical systems within your vehicle. This step is crucial for testing the new harmonic balancer and confirming that it operates smoothly without any disruptions.
By following these steps diligently and paying attention to detail during installation and final checks, you can successfully replace your 5.7 Hemi harmonic balancer with confidence. Remember to prioritize precision and safety throughout the process to maintain optimal engine performance and reliability.
By adhering strictly to these guidelines when installing your new harmonic balancer, you guarantee an efficient replacement process that enhances your engine’s overall functionality and longevity.
Anonymous user on Dodge Forum sought guidance regarding a defective harmonic balancer, noticing wobbling and signs of separation. The replacement part’s larger size poses a challenge in removal, requiring an alternative puller method. Similarly, the longer serpentine belt raises questions about reusing old parts or opting for new ones. AGCO Auto emphasizes the critical role of the harmonic balancer in engine health, from minor squeaks to catastrophic failures. Proper maintenance and prompt symptom recognition are key to preventing potential issues.
By summarizing the removal process, stressing tool importance and safety measures, and suggesting professional consultation if needed, individuals can ensure efficient harmonic balancer maintenance for optimal engine performance and longevity.
Post time: May-31-2024